Warp Book

Warp Book
Warp Book is a simple way to keep track of your favorite locations in Minecraft. All you need are Warp Pages and the Warp Book to store them. You can store up to 54 pages in a Warp Book by shift+right-clicking with it in your hand.

With the Warp Page just right click while holding it at the location you want to save. It will turn the page purple and you can then store it in the Warp Book.

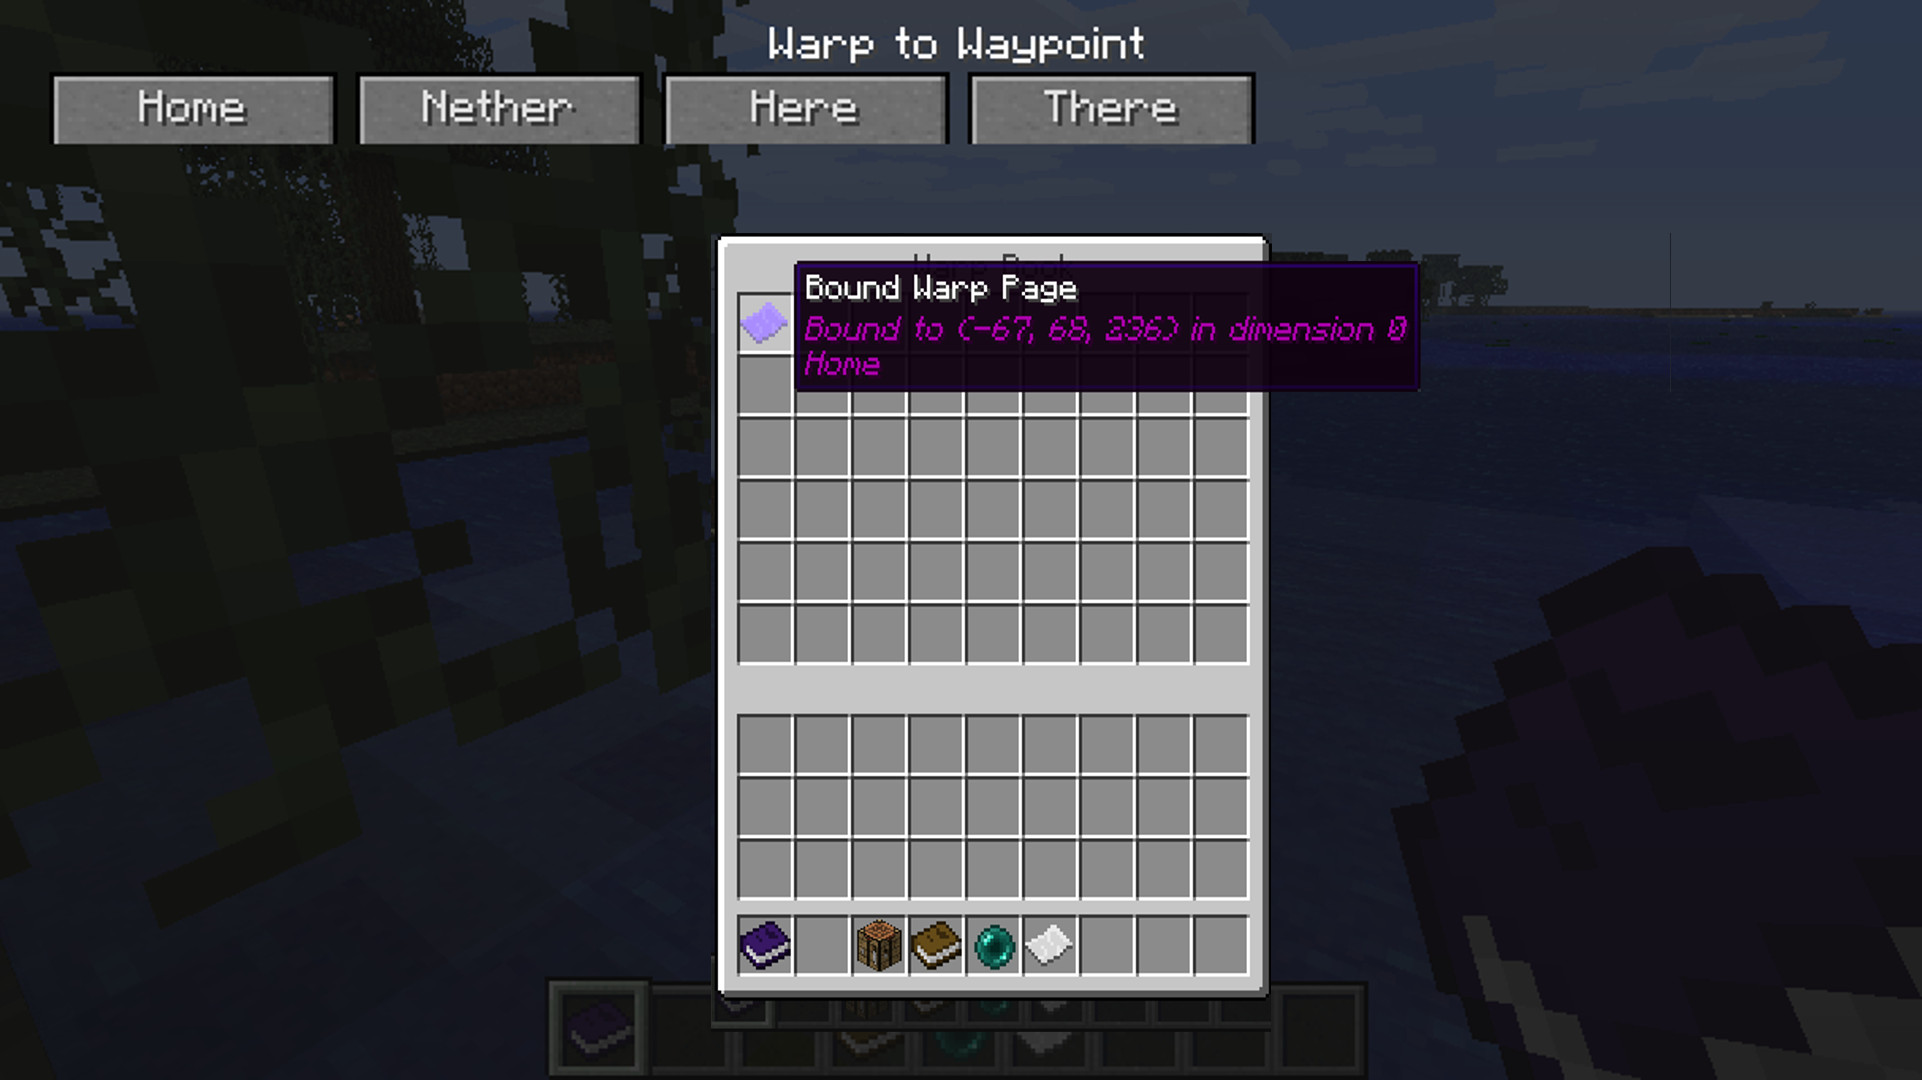
After you’ve loaded up some locations, just right click with the book in hand and it will bring up all the ones you have stored. Then just click what you want and you’ll be transported there instantly.

What’s really neat about this mod is it has no restriction on location. You can create an easy Nether Portal with it and you won’t have to worry about keeping track of an obsidian one so long as you have the book with you.


Go to developer website... 

Download - Warp Book

All mods in the list blow are available in the Minecraft Modinstaller (click here)...
Alternatively we offer you mods here as a ZIP File you can install manually:
3.1
MinecraftRatingRequiresDownload
1.8.9 Forgenone
1.7.10 Forgenone

Installation Instructions (without Modinstaller)

Forge Mods

  1. Open the new launcher and make sure the version of Minecraft the mod requires is already installed.
  2. Download the Forge-Auto-Installer compatible to your Minecraft version
  3. Install the Minecraft Forge using the Auto-Installer
  4. Download the Mod "" in the right column Forge here
  5. Click "Edit Profile" in the Minecraft launcher, then open the game directory
  6. Extract the downloaded zip file directly in the first game directory folder
  7. Select the new profile "Forge" and the Minecraft version e.g. "1.7.10-Forge10.13..."
  8. Login and play as normal.

Modloader Mods

  1. Open the new launcher and make sure the version of Minecraft the mod requires is already installed.
  2. Click "Edit Profile" in the launcher, then open the game directory
  3. Go into the subfolder "versions".
  4. Rename the folder for the version you require to something else. In this example, rename "1.7.10" to "1.7.10_Mods".
  5. Open the "1.7.10_Mods" folder.
  6. Rename "1.7.10.jar" to "1.7.10_Mods.jar".
  7. Rename "1.7.10.json" to "1.7.10_Mods.json".
  8. Open "1.7.10_Mods.json" with a text editor and replace "id":"1.7.10" with "id":"1.7.10_Mods", save the file and close it.
  9. Open the class files from the mod with an archiver (7-Zip) and copy-paste the files into 1.7.10_Mods.jar. Do not close the archiver yet.
  10. Delete META-INF and close the archiver.
  11. Start the Minecraft launcher.
  12. Click on "Edit Profile"
  13. In "Use Version", select "1.7.10_Mods".
  14. Click Save Profile.
  15. Login and play as normal.
Navigation X
Popular Mods
New Mods
© 2012-2022 Minecraft-Installer.com | Imprint