This mod makes ’shining’ items (default: Torch, Glowstone, Glowdust, Lit Pumpkin, Redstone, Lava Bucket, powered Minecart) illuminate everything around them if,
1. The player has them equipped. (In Hand/Armor).
2. They are dropped on the ground.
3. Another player has them equipped in Multiplayer.
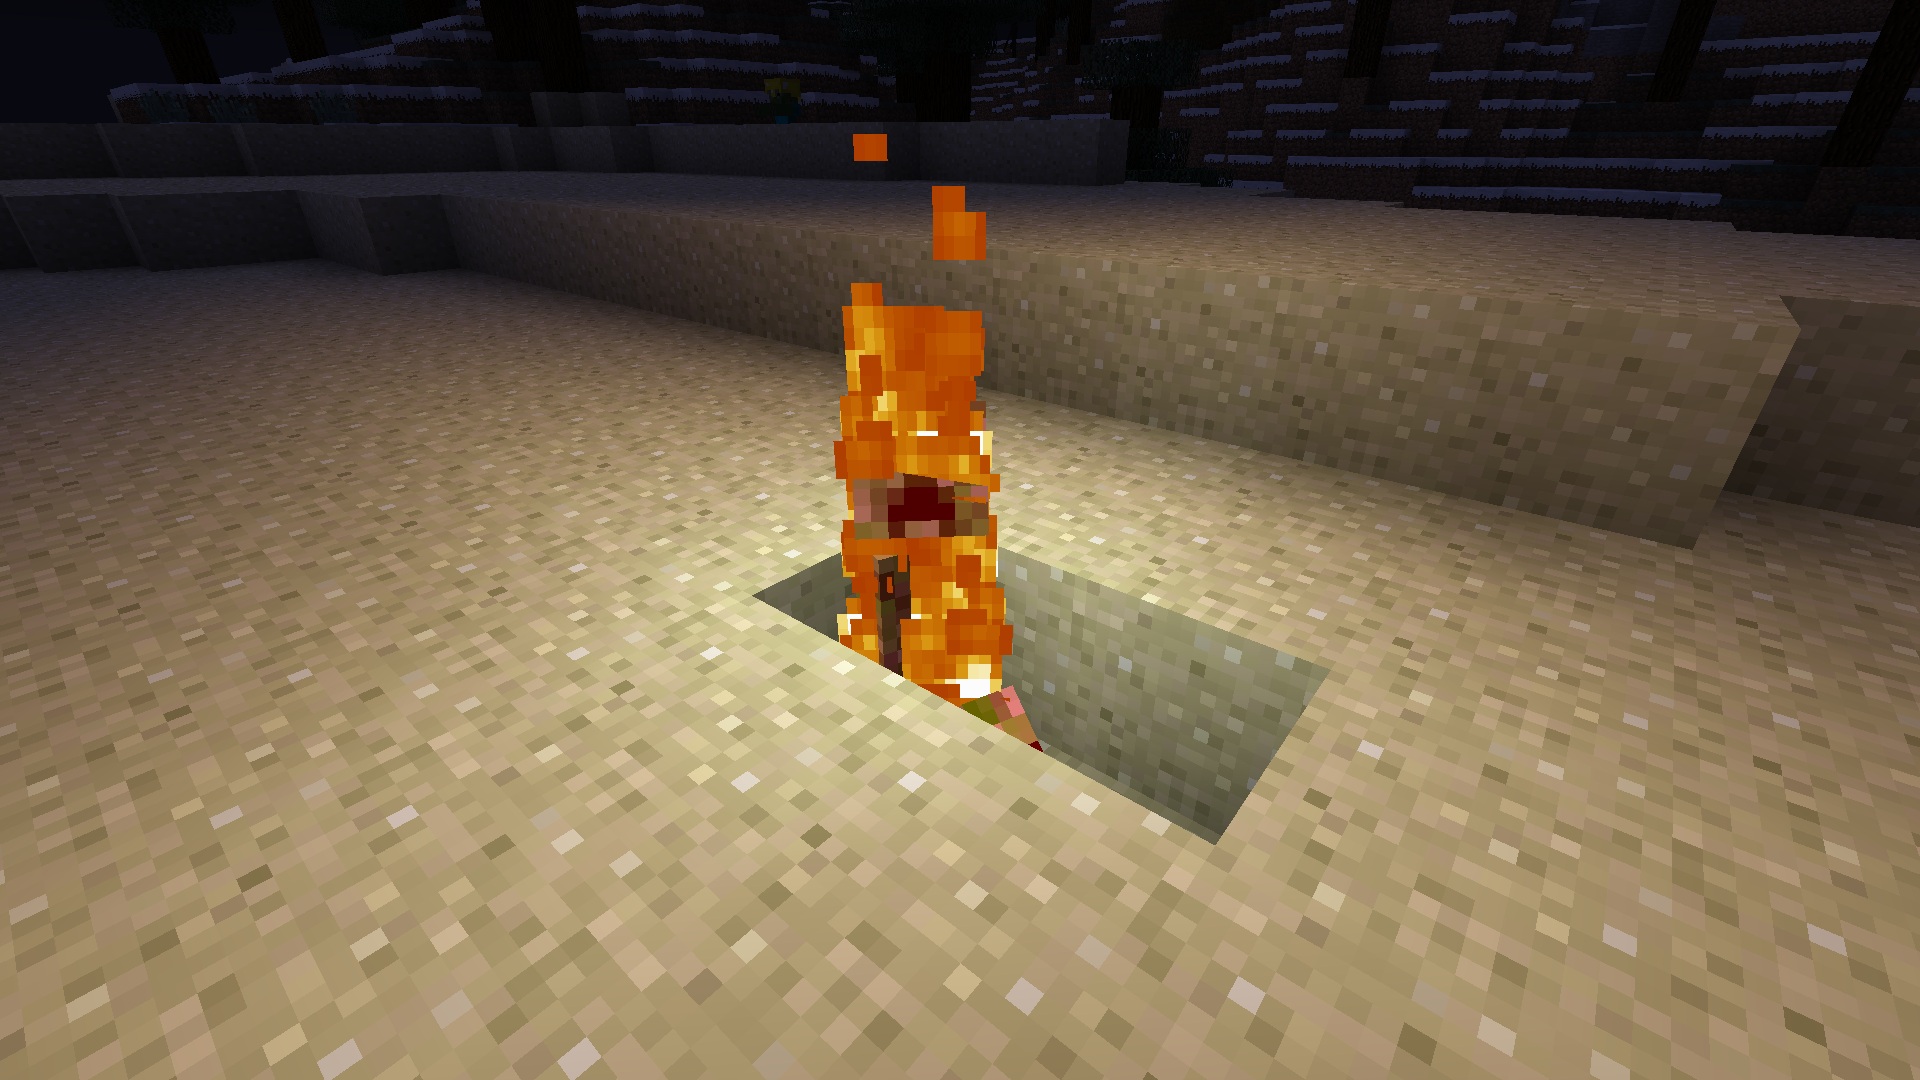
On top of that, burning Entities shine light, and Creepers about to explode light up!
You may add any Item ID you wish as shiny item, via the settings file. Also supports armor items!
Toggle button InGame:
The key is "L". You can turn all dynamic Lights on/off with it. The button can be rebound using the ingame options.
There is no limit to the number of lights you can create, note however they are fairly FPS-costly. You can disable modules to obtain better FPS!
The mod works in Multiplayer, yet is clientside, it cannot lag servers. Note however ’dropped’ light sources will not necessarily prevent Mobs from Spawning, and neither will your handheld light.
All mods in the list blow are available in the Minecraft Modinstaller (click here)... Alternatively we offer you mods here as a ZIP File you can install manually:
Minecraft
Rating
Requires
Download
1.11.2 Forge
none
1.10.2 Forge
none
1.9 Forge
none
1.8 Forge
none
1.7.10 Forge
none
1.7.2 Forge
none
1.6.4 Forge
none
1.6.2 Forge
none
1.5.2 Forge
none
5
Installation Instructions (without Modinstaller)
Forge Mods
Open the new launcher and make sure the version of Minecraft the mod requires is already installed.

 Go to developer website...


 Navigation X
 Popular Mods
 New Mods